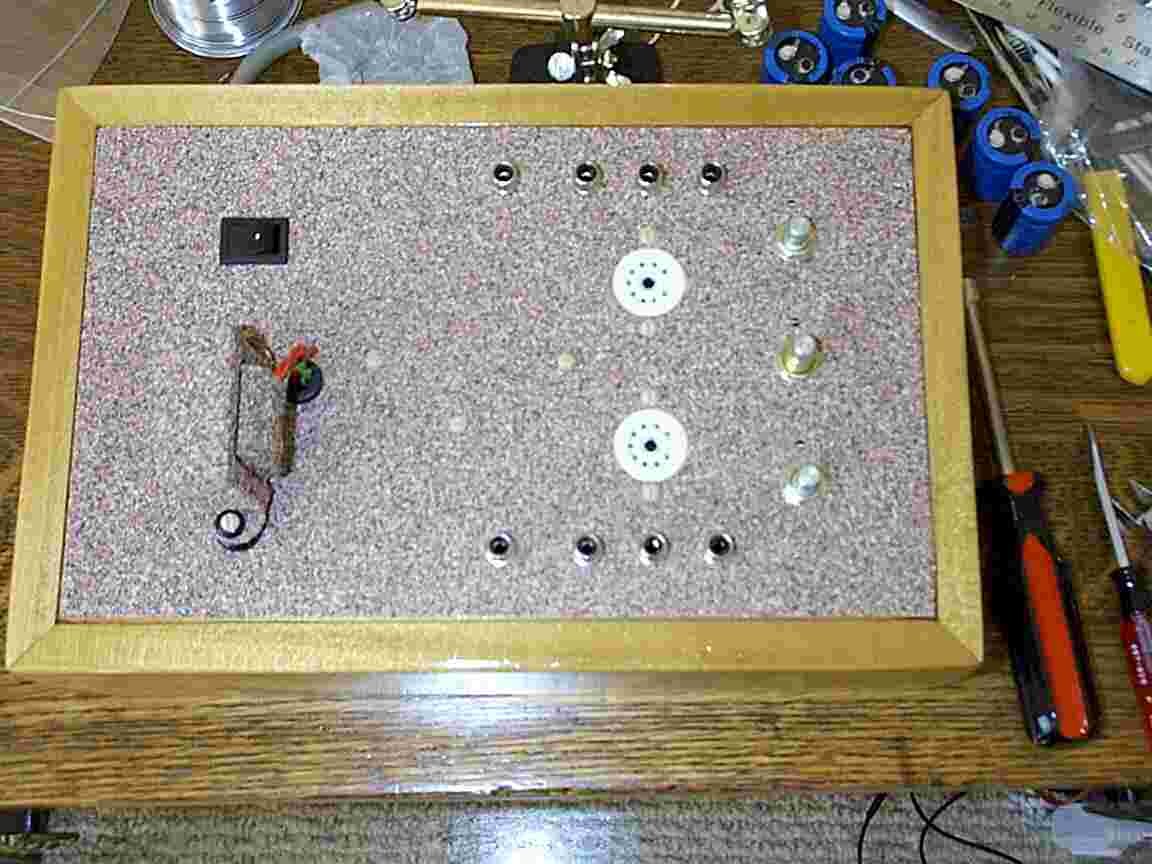
Note: I can't find any more 1/8" ID rubber grommets for the transformer mounting, I had to use vinyl ones. I like the rubber grommets much better than the soft vinyl ones. I wish Radio Shack carried rubber instead of soft vinyl grommets.
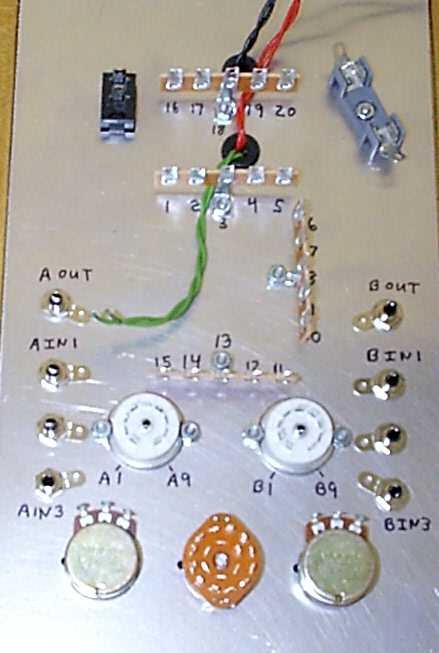
Back of Chaperone marked for build.
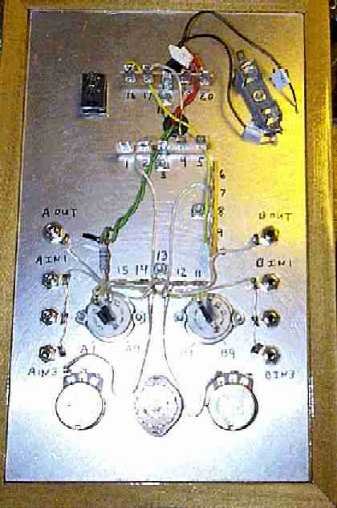
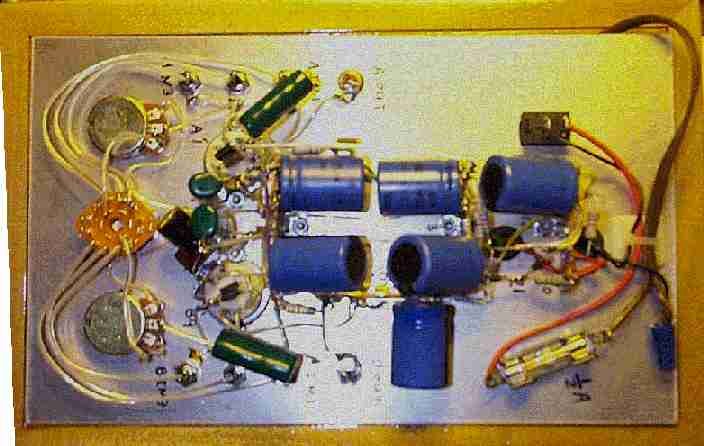
Wiring under capacitors is done. (full size)
12 is B ground.
14 is A ground.
The long leads on the pots are to support easy installation of the Sweet
Whispers. (full size image).
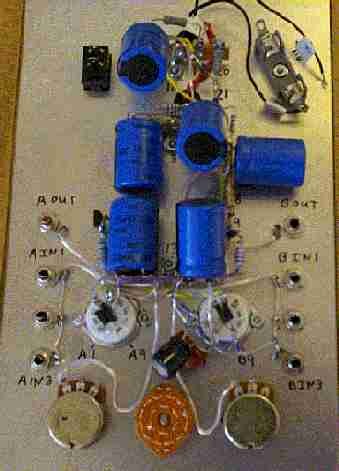 Power
Supply Caps installed (full size).
Power
Supply Caps installed (full size).
Finished, with no upgrades (full size).

It is tight around the B tube socket. Shunt Attenuator and SCR caps installed (Full size).
Notice routing of filament snubber. The two black caps go from B9 to B4 and B5 with short lead. The B9 to ground caps are kept away from B1 through B3 connections. The Foreplay should be routed the same way.
The metal tang in the middle of the socket is trimmed flush to the socket. Do not remove the metal ring from the middle of the socket. It holds the top of the tube socket to the bottom of the tube socket.
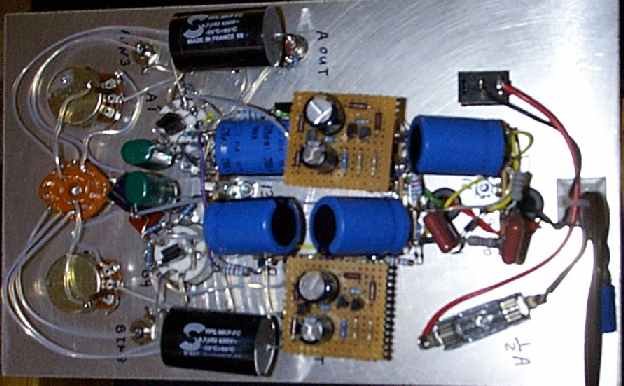
With Shunt volume pots, 4.7 uF 630V SCR output caps and delayed current source installed. I don't like how close the current source is the the 115V. I will be moving these CCS cards later.

 _
_